Blisters on Day Two: How to Keep Walking
Day one felt fine. On day two, a hot spot on your heel turns every step into a negotiation. Here is how to catch it early, treat it on the trail, and keep walking to Ta Van.
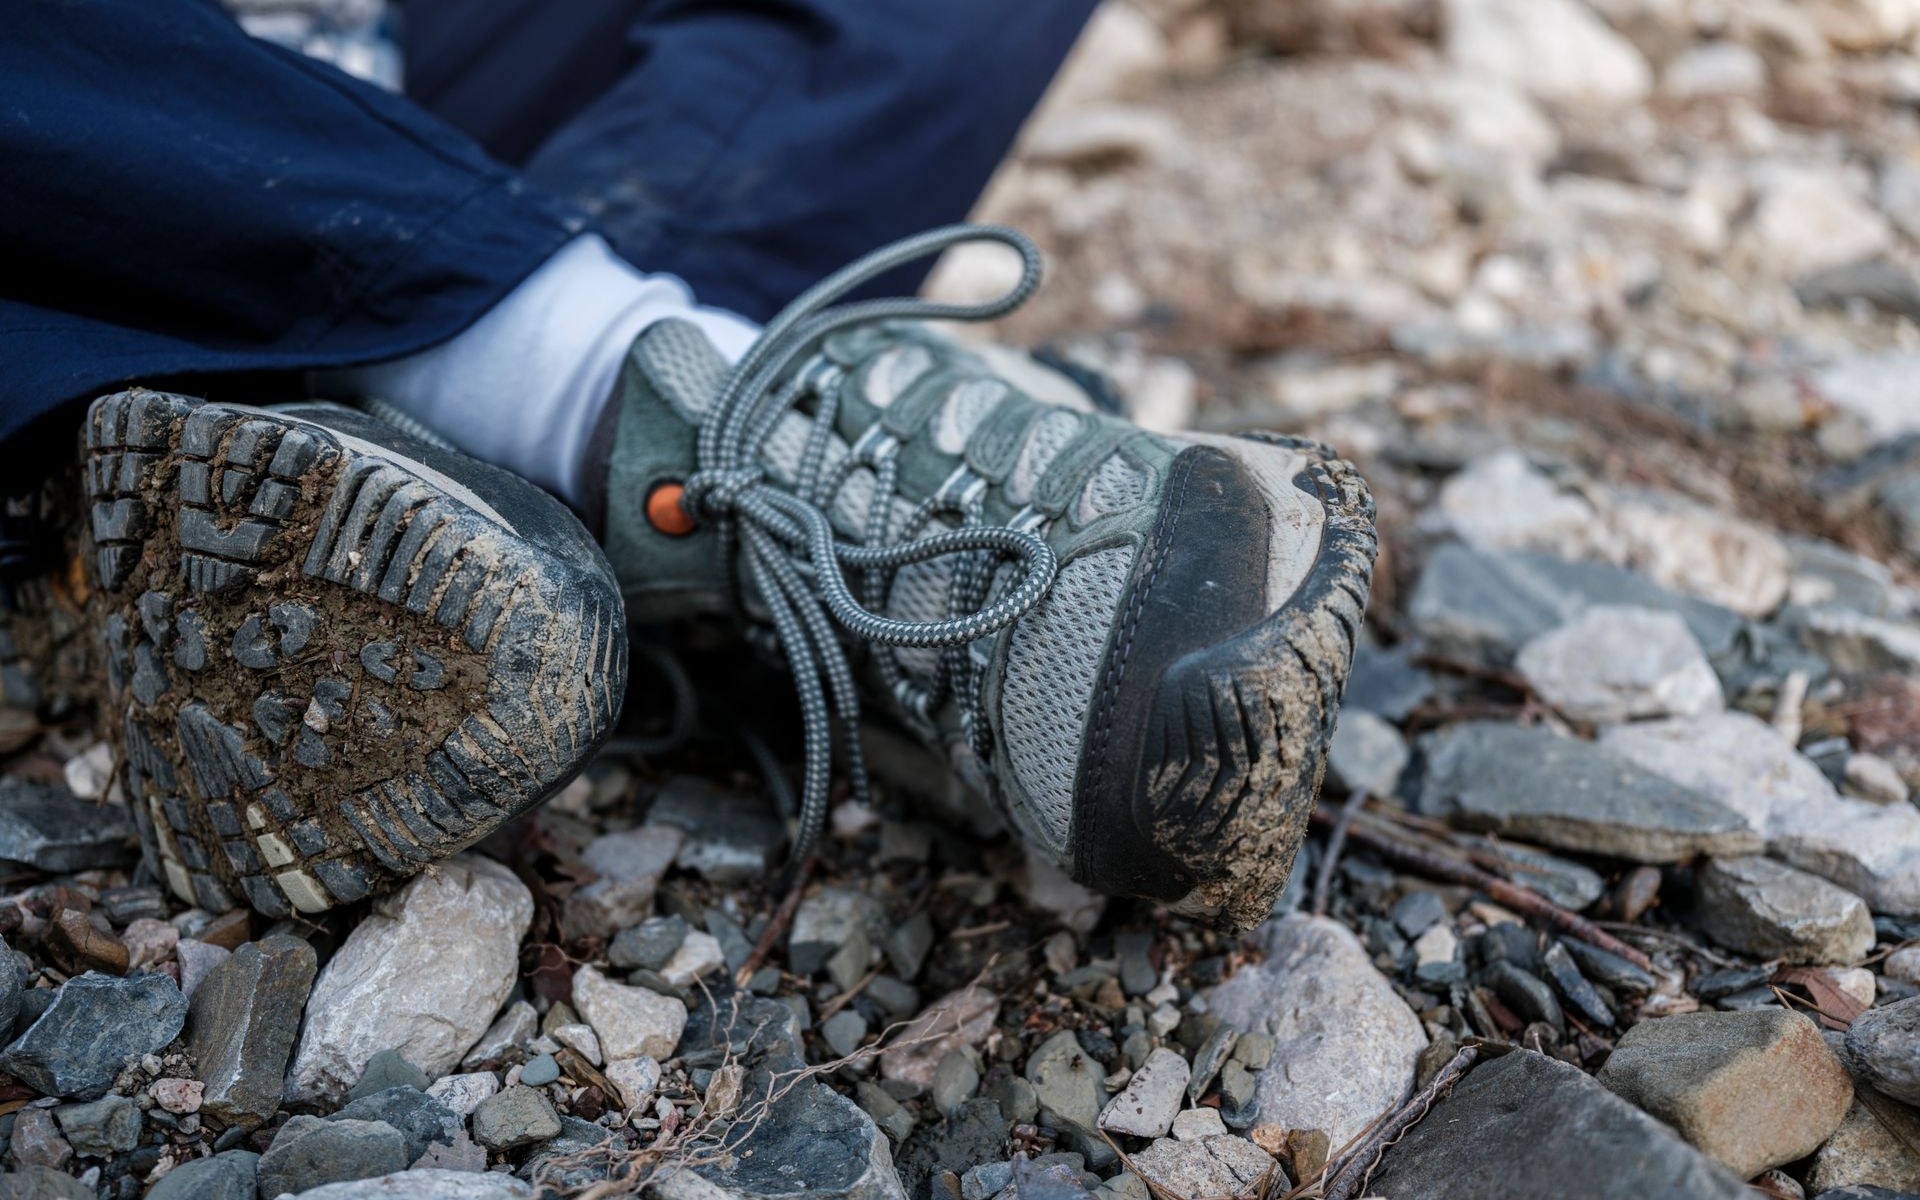
You wake up in Ta Van on day two, put your boots on, and take three steps. There it is: a hot, stinging patch on your heel. Day two is when blisters arrive, because your feet are damp, your skin is soft, and the same boot rubs the same spot again.
A blister does not have to end the walk. Most are manageable if you deal with them early. The walkers who finish day two stopped at the first sign of trouble.
Catch it at the hot spot stage
A blister starts as a hot spot: a patch of skin that feels warm and sore where your boot rubs it, with no bubble yet. That is the moment to act. Stop, take the boot off, and look.
Dry the foot. Wet skin blisters faster than dry skin, and after a day of mud your socks are damp even if they feel dry. Put on a dry pair, then cover the hot spot with tape or a blister plaster. The tape takes the rubbing instead of your skin.
Walk on a hot spot and it becomes a blister within an hour. Ten minutes of stopping early saves an afternoon of limping.
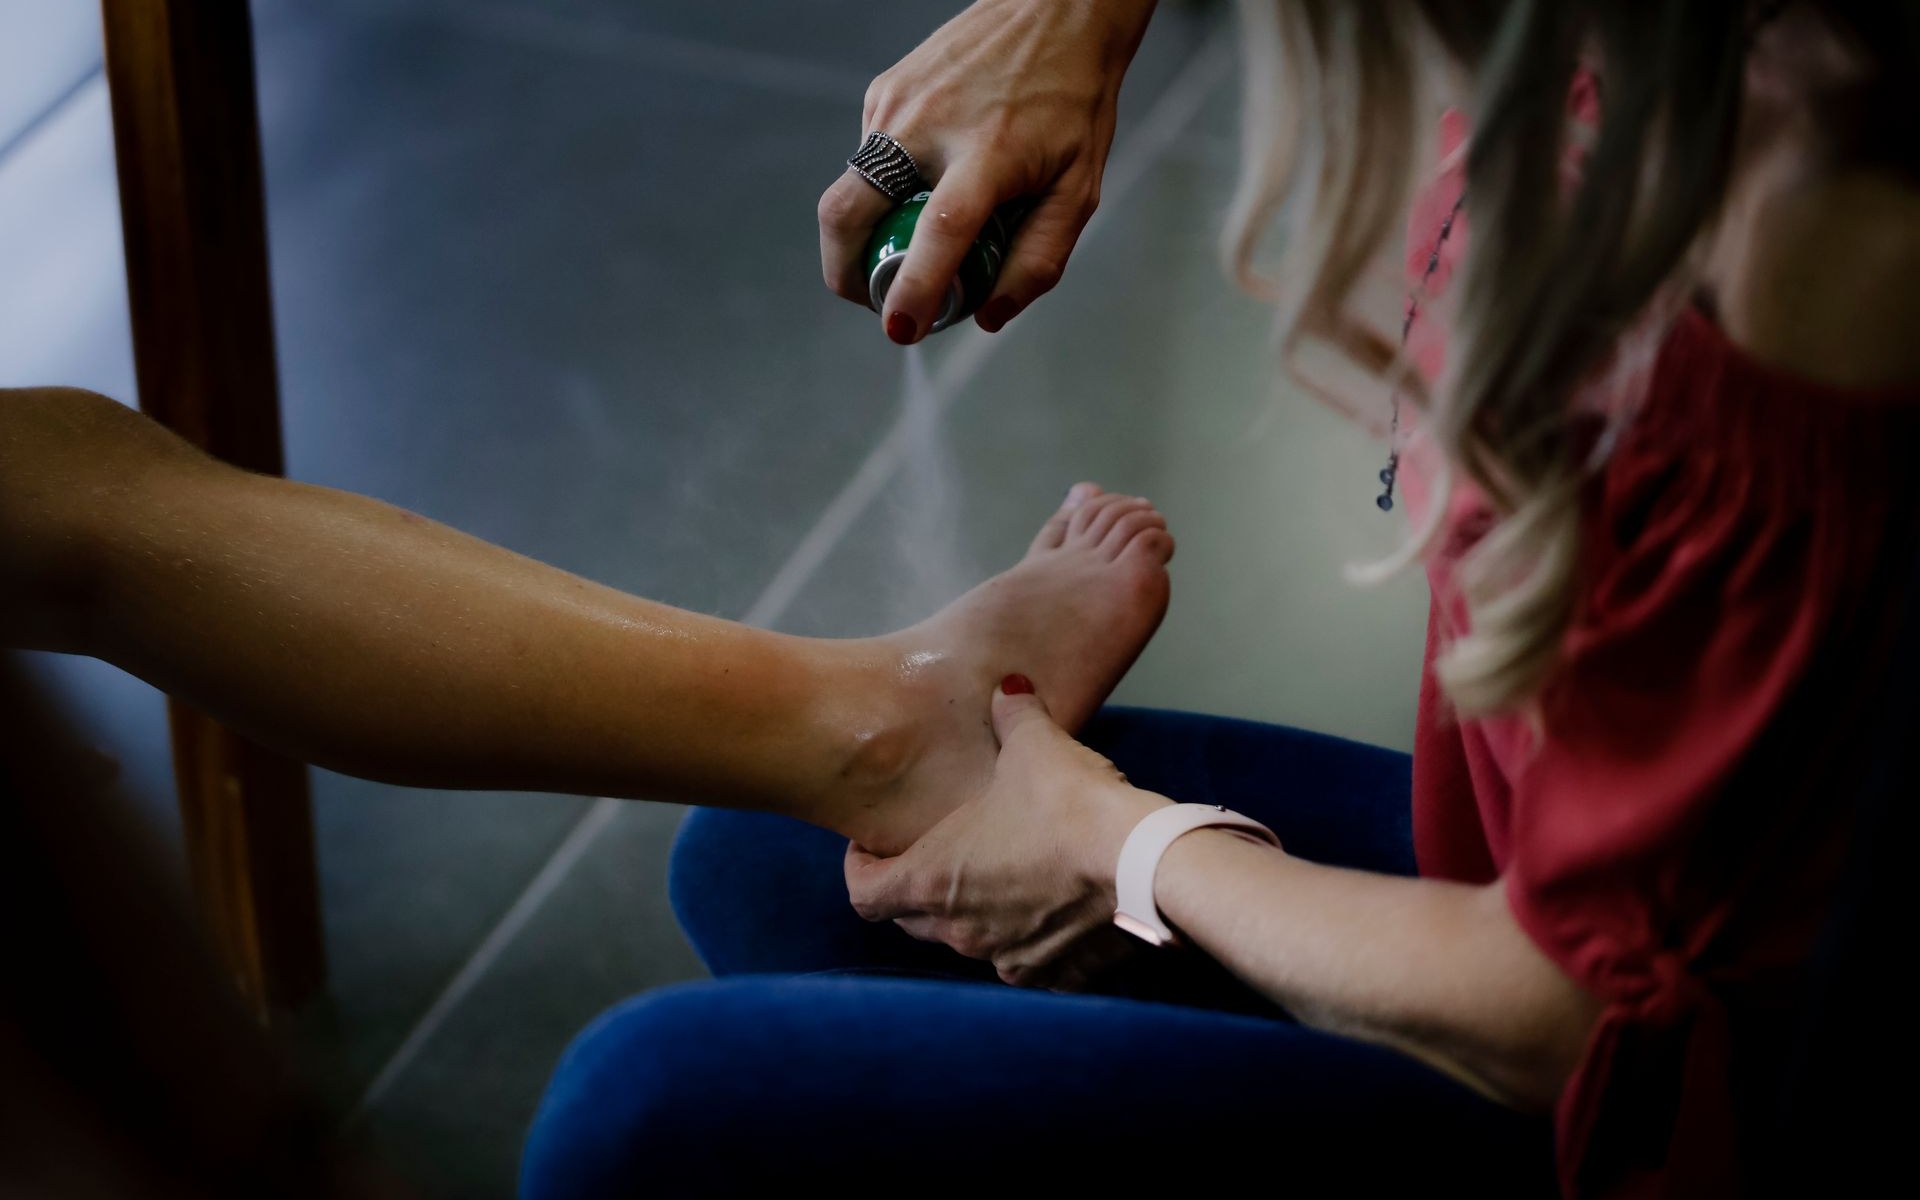
Source: Vidal Balielo Jr. via Pexels. A woman applying first aid spray to an injured foot indoors, shown as an illustration of treating a sore foot, no location claimed.
If the blister is already there
A small blister with clear fluid and intact skin is still walkable. Cover it with a thick gel plaster, tape over the top, and loosen the laces around the sore spot.
Do not pop a blister unless it is so tense you cannot put weight on the foot. If you do, clean the skin, use a sterile needle, make a tiny hole at the edge, and press the fluid out. Leave the loose skin in place: it is a natural bandage. Cover it and tape it.
A blister that is red, hot, and spreading, or one with cloudy fluid, is infected. Tell your guide.
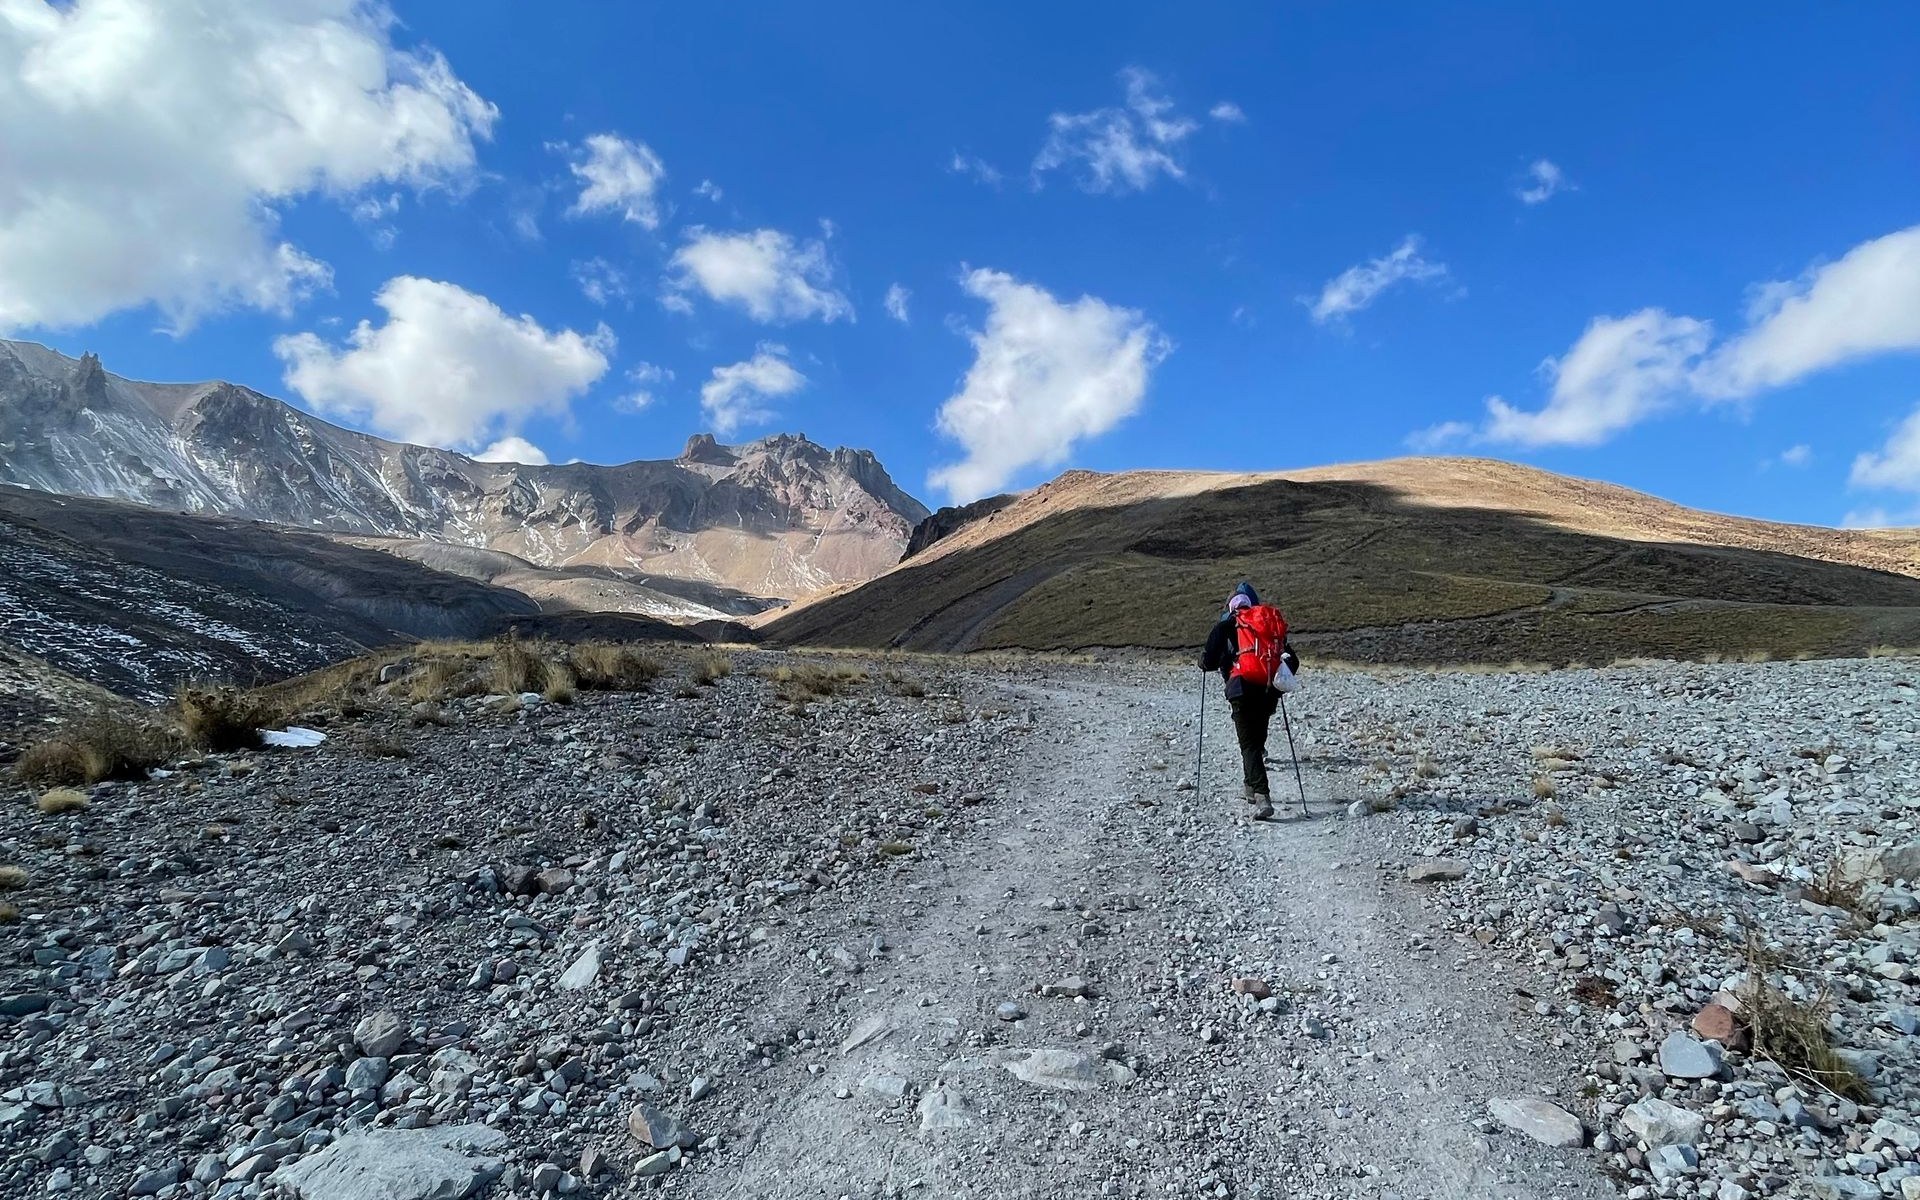
Source: Eren Sever via Pexels. A hiker with a backpack walking a mountain trail, shown as an illustration of a hiker on the trail, not Sapa.
Tape, socks, and shoes: what actually works
Two thin pairs of socks beat one thick pair. The inner sock moves with your foot, the outer with the boot, and the rubbing happens between the socks. Change into a dry pair at lunch.
Tape the spots that always rub before you start: heels, the sides of your big toes, and the balls of your feet.
The real cause is usually the shoe, not the foot. Trainers with flat soles slip on wet clay and let your heel lift with every step, and that lifting rubs the blister open. Boots with a firm heel cup and good grip hold the foot still. Break them in before the trip, on real walks.
When to stop walking
Keep walking if the pain is steady and you can still walk normally. Stop and tell your guide if the pain changes how you walk, if you are limping badly enough to risk an ankle on a terrace step, or if the skin is broken and bleeding. Your guide can shorten the route or call the car.
Treat the hot spot early, keep your feet dry, and tape before it hurts.
The 2 day Ta Van homestay trek is the walk this is written for: two days, one night in Ta Van, bag transfer included. The 1 day Y Linh Ho, Lao Chai and Ta Van trek is the shorter version. Read the full Sapa trekking guide, then message the house on WhatsApp or Zalo.
Walk it with us
Every route in these guides ends at Cloud Valley. Sleep where the trail ends, not back in town.
Sapa Trekking Guide · 1 Day Valley Trek · 2 Day Homestay Trek
More guides
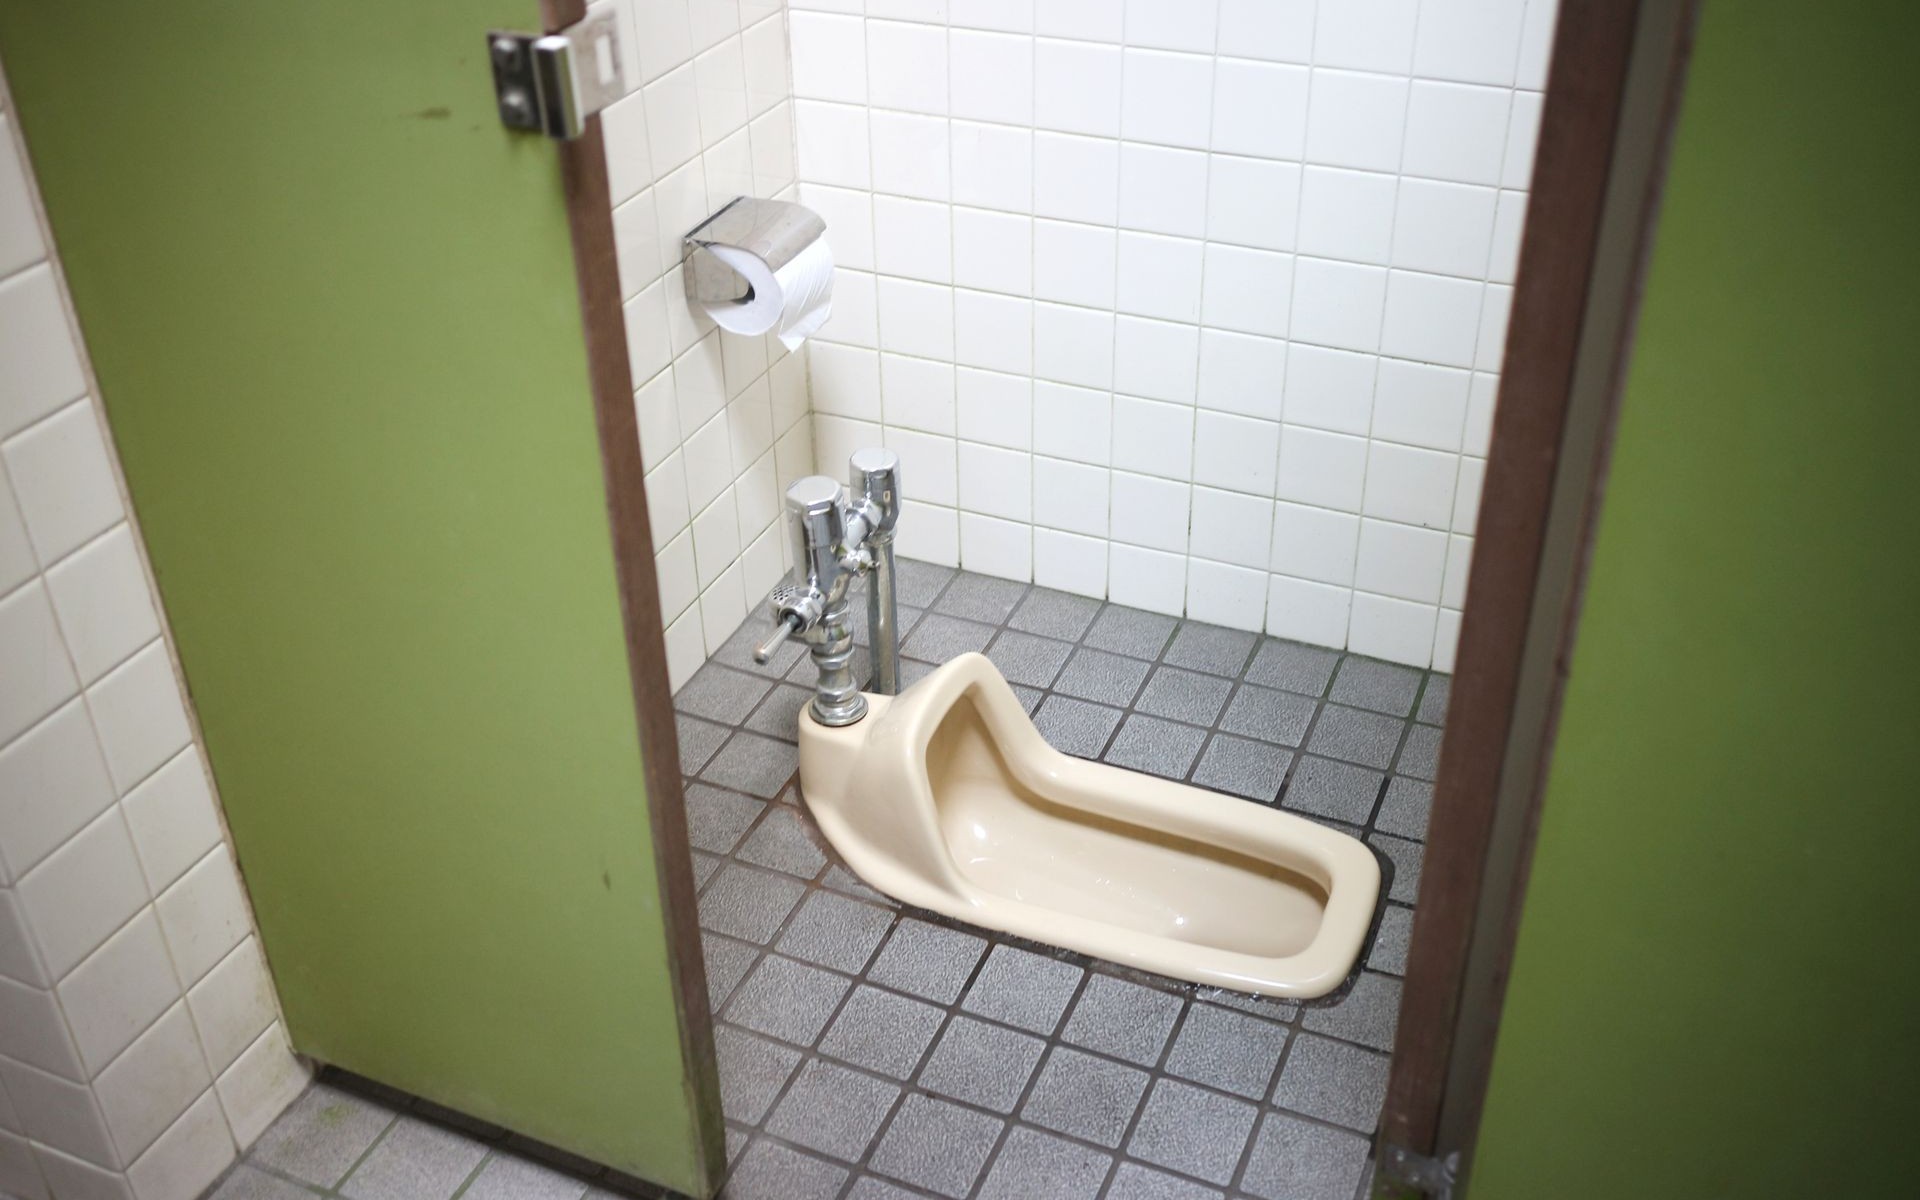
Squat Toilets and Shared Bathrooms: What Homestays Are Really Like
The toilet is the part of a Sapa homestay nobody photographs. Here is what the bathroom is actually like, and the three small things to pack so it never ruins your night.

Booking a Trek Online vs in Town: What Changes
You can book your Sapa trek from home weeks ahead, or walk into an office in Sapa town the day before. Both work. Here is what actually changes with each choice.
Your Luggage While You Trek: Storage Options That Actually Work
You cannot drag a rolling suitcase down muddy terrace steps. Here is where your big bag actually goes while you walk, and what to carry instead.